PV System Troubleshooting Guide for Homeowners
- Jul 11
- 9 min read
TL;DR:
Troubleshooting PV systems involves systematic inspection, proper measurements, and thorough documentation to ensure optimal performance and insurance coverage.
Visual checks, diagnostic measurements, and historical data help identify faults early, preventing costly degradation.
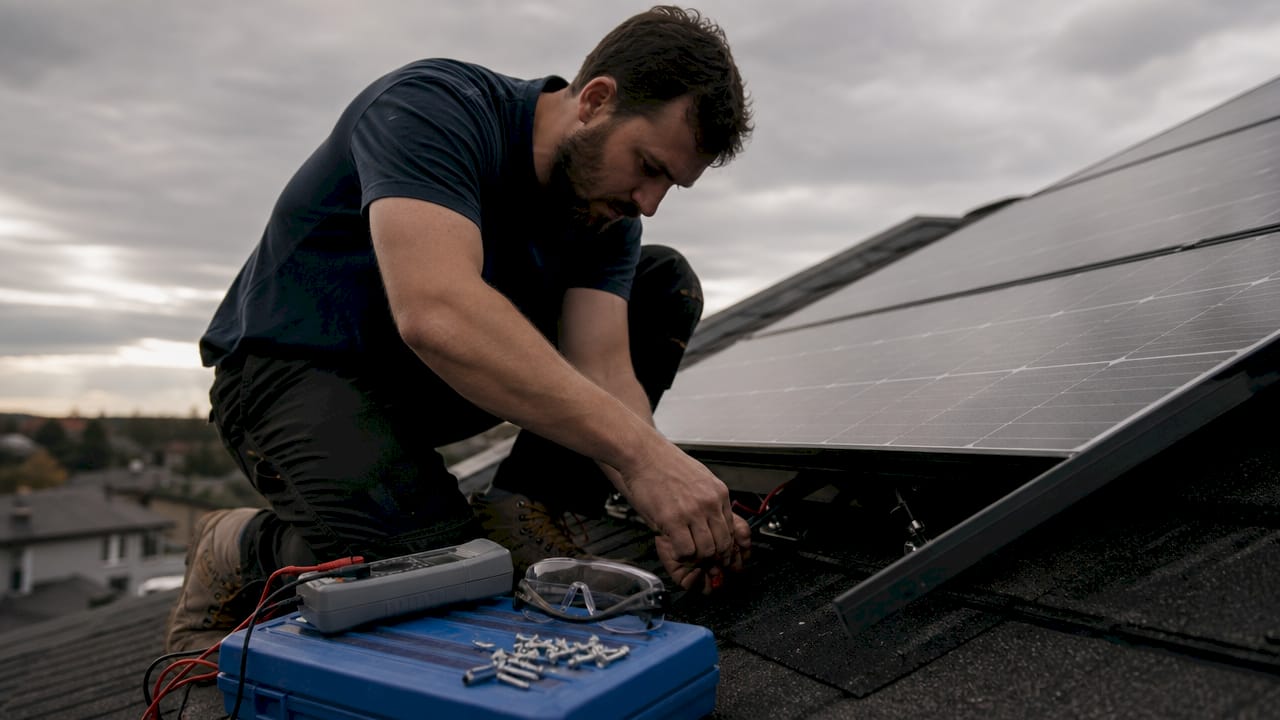
PV system troubleshooting is the process of identifying and resolving faults in photovoltaic energy systems, covering panels, inverters, wiring, and safety devices. A system that underperforms by even a small margin costs real money over a 25-year lifespan. This guide gives homeowners and technicians a clear, step-by-step method for solar panel troubleshooting, from the first visual check to advanced diagnostic measurements. The industry term for this process is “photovoltaic system fault diagnosis,” and understanding both terms helps you communicate clearly with installers and insurers.
What tools and preparations does a PV system troubleshooting guide require?
The right tools determine whether you find the fault in 20 minutes or spend hours guessing. Before touching any component, gather the following:
DC-rated digital multimeter for measuring open-circuit voltage (Voc) and short-circuit current (Isc) at the string level
Insulation resistance tester (500 V or 1,000 V DC) for detecting ground faults and wiring damage
Infrared thermography camera for locating hotspots and connection defects without physical contact
IV curve tracer for comparing actual module performance against manufacturer specifications
MC4 connector removal tool to safely disconnect and inspect DC-side plugs without damaging seals
Safety equipment is not optional. DC lines stay live under sunlight even when the system appears switched off. Any work involving rooftop access or high-voltage DC components requires a qualified electrician. DGUV Information 203-080 is the German occupational safety standard governing PV installation and maintenance work, and its core principle applies universally: treat every DC conductor as energized.
Before the physical inspection, pull three documents: the system’s performance logs, the inverter’s fault code manual, and the original commissioning report. Historical monitoring data cuts onsite troubleshooting time by over 50% by separating external factors like shading and weather from internal faults. Reviewing these records first tells you whether you are dealing with a sudden failure or a slow degradation trend.
Pro Tip: Download at least 12 months of inverter monitoring data before any site visit. A single day’s output tells you nothing. A full year reveals seasonal patterns, gradual decline, and the exact date a fault first appeared.
How do you systematically inspect major PV system components?
A structured inspection follows a logical sequence: panels first, then inverters, then wiring, then safety devices. Skipping steps wastes time and risks missing the root cause.
Panel inspection
Start with a visual check from ground level using binoculars, then move to rooftop inspection if safe. Look for:
Dirt accumulation, bird droppings, or moss covering cell surfaces
Visible cracks, delamination, or discoloration on the glass or backsheet
Corrosion on the frame or junction box
Physical damage from hail, falling branches, or foot traffic
Microcracks are invisible to the naked eye but show up clearly under electroluminescence imaging, a technique where a low-voltage current passes through the module and a camera captures the light emitted by healthy cells. Damaged cells appear dark. This method requires professional equipment, but it identifies faults that no visual check can catch.
Inverter diagnostics
Inverter monitoring apps display specific fault codes that identify issues such as network deviations, string interruptions, or internal component faults. Modern inverters often include suggested remedial steps alongside the code. Solis inverters, for example, integrate directly with the Belinus EMS, which surfaces fault alerts through a native mobile app and web dashboard, giving technicians real-time visibility without a separate monitoring device.
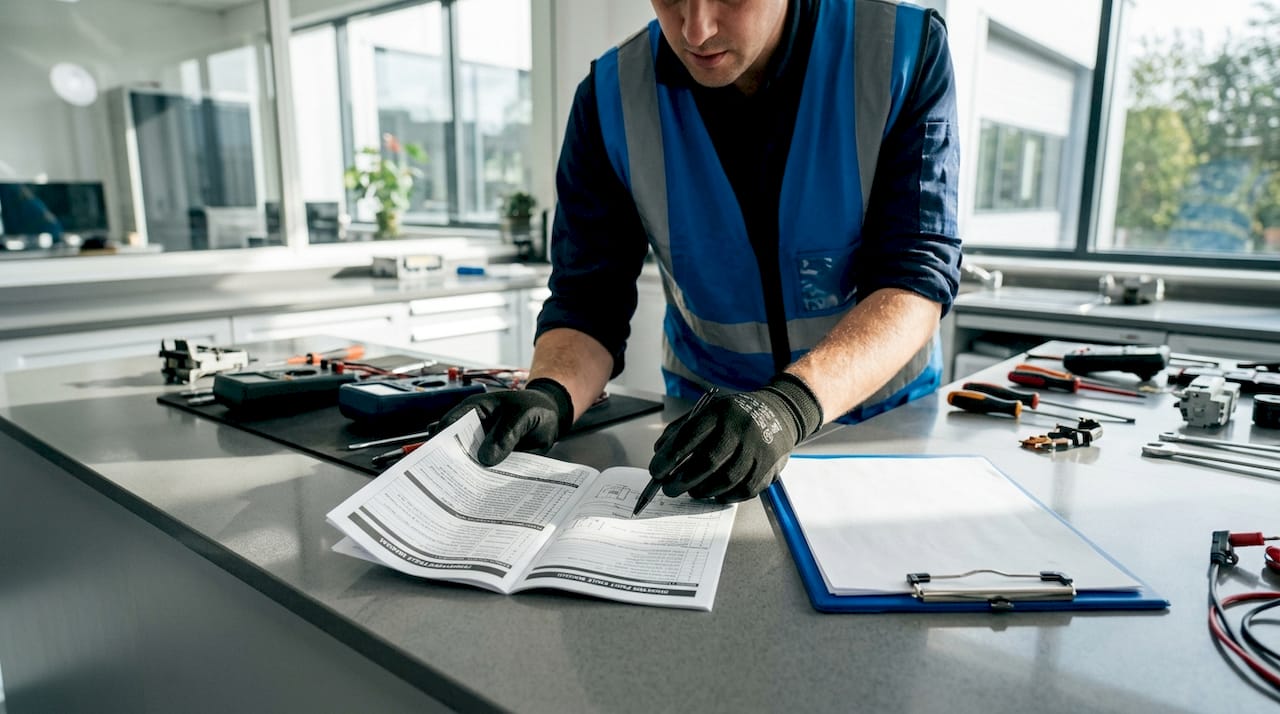
Check the inverter display for any red or amber warning lights. Note the exact fault code, then cross-reference it with the manufacturer manual. A “string fault” code points you directly to the DC side. A “grid fault” code means the problem is external to your system.
Wiring and connector checks
Inspect all MC4 connectors for partial engagement, corrosion, or cracked housing.
Measure open-circuit voltage at each string using a DC multimeter and compare readings against the expected value from the datasheet.
Check cable routing for pinching, UV degradation, or rodent damage along the entire DC run.
Verify that all cable ties and conduit fittings are intact and that no conductors are exposed.
Loose or improperly connected MC4 connectors are the single most common cause of PV system performance issues. A homeowner with a DC multimeter and the correct removal tool can check connector engagement safely without professional help.
Safety device verification
Confirm that all DC fuses are intact and correctly rated. Test the DC disconnect switch for proper operation. Verify that the surge protection device (SPD) has not tripped. Check that the system earth bonding is secure and that no grounding conductors have corroded or come loose.
Pro Tip: Photograph every connector, fuse, and safety device before and after inspection. These images serve as timestamped evidence for insurance claims and future maintenance visits.
Which diagnostic measurements improve troubleshooting accuracy?
Visual inspection finds obvious faults. Measurements find everything else. The four measurements that matter most in photovoltaic system repair are:
Open-circuit voltage (Voc): Measured at the string combiner or inverter input. A reading significantly below the expected value indicates a missing module, a failed bypass diode, or a broken connection.
Short-circuit current (Isc): Measured with an IV curve tracer. A low Isc relative to irradiance points to soiling, shading, or cell degradation.
Insulation resistance: Values under 1 MΩ per kW of installed power indicate serious defects requiring immediate repair. Testing at 500 V or 1,000 V DC detects ground faults and wiring damage before they become fire hazards.
IV curve trace: Compares the actual current-voltage curve against the manufacturer’s reference curve. Deviations reveal shading, mismatch, degradation, or bypass diode activation.
Thermographic inspection adds a spatial dimension that electrical measurements alone cannot provide. Local temperature elevations over 20 Kelvin compared to adjacent cells are critical indicators of hotspots, connection defects, or bypass diode failures. An infrared camera survey during peak irradiance hours takes 30–60 minutes for a residential system and can prevent module failure or fire.
Measurement | Tool required | What it reveals |
Open-circuit voltage (Voc) | DC multimeter | Missing modules, broken connections |
Insulation resistance | Insulation tester (500–1,000 V DC) | Ground faults, wiring damage |
IV curve | IV curve tracer | Shading, mismatch, degradation |
Thermography | Infrared camera | Hotspots, bypass diode faults |
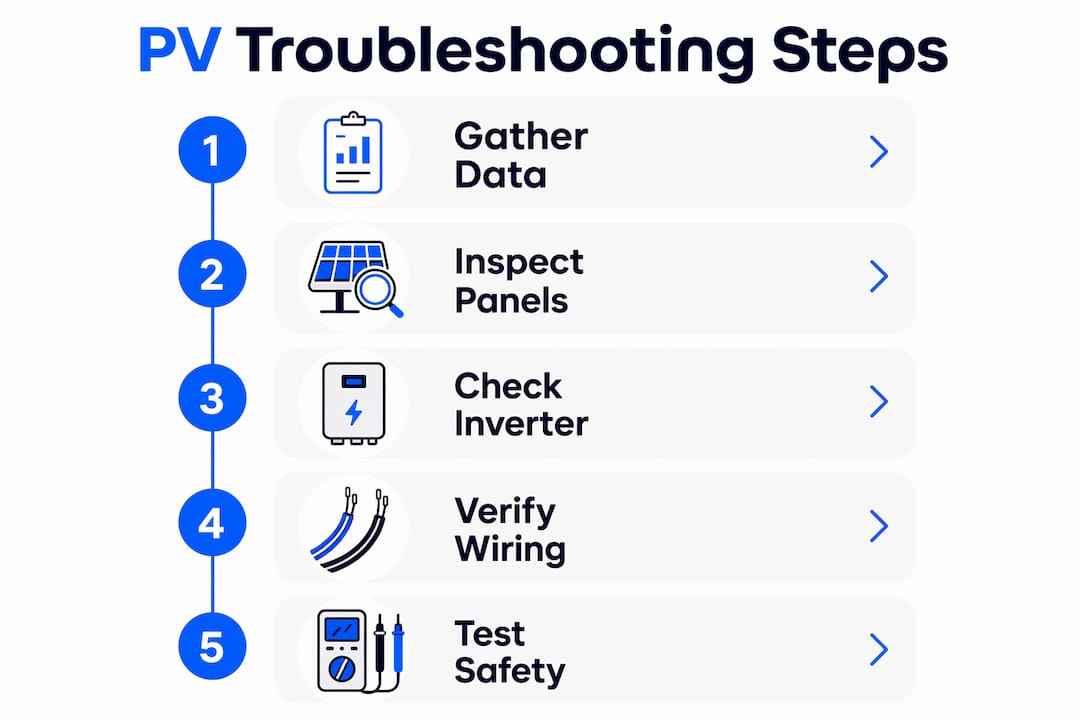
Advanced diagnostic methods like infrared thermography and IV curve tracing identify subtle faults that basic visual checks and inverter monitoring miss entirely. Scheduling these tests every two to three years, even when the system appears healthy, catches degradation before it becomes a costly repair.
Common troubleshooting scenarios and how to resolve them
Most faults fall into a short list of repeating patterns. Knowing the pattern speeds up the fix.
Soiling and shading losses. A single dirty panel or a new shadow source (a growing tree, a new roof structure) can reduce string output significantly due to the series connection of modules. Clean panels with water and a soft brush. Trim vegetation. If shading is structural, consider module-level power electronics.
Inverter resets and nuisance trips. Morning dew or heat expansion causing repeated nuisance trips often signals early insulation failure or moisture ingress, not a benign environmental quirk. Log the time and weather conditions of each trip. If the pattern repeats, call a qualified technician for an insulation resistance test.
DC string faults. Measure Voc at each string. A string reading zero or near-zero voltage has a complete open circuit: a blown fuse, a failed module, or a disconnected MC4 plug. A string reading lower than expected has a partial fault: a degraded module or a high-resistance connection.
Intermittent faults. These are the hardest to catch because the system appears normal during inspection. Correlating monitoring data with weather and historical system behavior is the most reliable method for isolating intermittent faults. Look for output dips that correlate with temperature extremes or high humidity.
Battery system faults. If your system includes battery storage, battery components require separate testing under VDE-AR-E 2510-50 standards, including isolation and safety checks for storage systems. These checks integrate naturally into a full PV maintenance visit.
Pro Tip: Never ignore a fault that clears itself. Self-clearing faults are the system telling you something is marginal. Document every occurrence and share the log with your technician.
How to document inspections and maintain PV systems long-term
Documentation is not paperwork for its own sake. It is the legal and financial record that protects you when a fault causes damage or when you need to make an insurance claim.
Key documentation practices include:
Maintaining inspection reports compliant with DIN EN 62446-1 for 25–30 years, covering the full operational life of the system
Storing thermography images with timestamps and irradiance conditions recorded at the time of capture
Logging every fault code, its date, and the corrective action taken
Recording annual visual inspection results, even when no faults are found
Industry standards DIN VDE 0105-100 and DGUV Vorschrift 3 require electrical safety inspections every 4 years for PV systems. Systems in harsh environments, coastal areas, or locations with high pollution levels may need inspections every 1–2 years. Many insurers require annual visual inspections as a condition of valid coverage. Missing a scheduled inspection can void your policy at exactly the moment you need it most.
After any severe weather event, hailstorm, or high-wind episode, conduct an immediate visual check of panels, mounting hardware, and cable routing before restarting the system. Do not wait for the next scheduled maintenance visit.
“Lack of documentation often leads to denied liability coverage for electrical faults or fire damage. Inspection reports compliant with DIN EN 62446-1 are the single most important paper asset a PV system owner holds.”
For systems with battery storage, Belinus recommends reviewing the solar battery maintenance guide alongside standard PV inspection records to keep the full energy system covered under a single maintenance schedule.
Key Takeaways
Effective PV system troubleshooting requires systematic inspection, calibrated measurements, and complete documentation to protect both system performance and insurance coverage.
Point | Details |
Start with monitoring data | Review 12 months of performance logs before any physical inspection to separate internal faults from weather effects. |
DC lines stay live | Treat all DC conductors as energized under sunlight; rooftop and high-voltage work requires a qualified electrician. |
Measure, don’t just look | Insulation resistance below 1 MΩ per kW and hotspots over 20 K above adjacent cells require immediate repair. |
Document every inspection | Keep DIN EN 62446-1 compliant records for 25–30 years; missing documentation can void insurance coverage. |
Inspect on a schedule | DIN VDE 0105-100 mandates electrical safety checks every 4 years, with annual visual inspections often required by insurers. |
What I’ve learned from years of watching PV systems fail quietly
The most expensive faults I have seen were not dramatic failures. They were slow, quiet degradation events that nobody noticed for two or three years because the system was still producing power, just less of it each month.
The biggest mistake homeowners make is treating the inverter’s green light as a health certificate. A green light means the inverter is running. It does not mean every module is performing correctly, every connector is secure, or every bypass diode is intact. A system can lose 15–20% of its output to a combination of soiling, one failed module, and two corroded connectors, and still show a green light every morning.
The second mistake is skipping the monitoring data review before calling a technician. A detailed historical monitoring dataset is one of the most valuable assets during troubleshooting. Technicians who arrive with 12 months of logged data solve problems faster and charge less for the visit. Technicians who arrive cold spend the first hour reconstructing a history you already have.
Diagnostic technology has improved dramatically. Infrared cameras that cost tens of thousands of dollars a decade ago are now available as rental equipment for a few hundred dollars per day. Electroluminescence imaging, once a laboratory technique, is now offered by specialist inspection firms as a routine service. Use these tools. They find faults that no amount of visual inspection or multimeter work will ever reveal.
— Marc
Belinus resources for PV system owners and technicians
Keeping a PV system performing at its best requires more than a one-time inspection. Belinus provides expert guidance on solar panel maintenance and full system integration to help homeowners and technicians stay ahead of faults before they affect output or safety.
The Belinus platform connects PV generation, battery storage, and EV charging through a centralized Energy Management System with 15-minute dynamic tariff optimization. For homeowners planning a full system review or technicians looking for structured maintenance protocols, the Belinus team offers expert support and system-specific guidance. Visit belinus.com to connect with a specialist or explore the full library of technical resources covering photovoltaic system repair, battery safety, and long-term performance tracking.
FAQ
What is the first step in PV system troubleshooting?
Review at least 12 months of inverter monitoring data before any physical inspection. Performance logs separate internal faults from external factors like shading and weather, cutting onsite diagnosis time significantly.
How often should a PV system receive a professional electrical inspection?
DIN VDE 0105-100 and DGUV Vorschrift 3 require electrical safety inspections every 4 years. Systems in harsh or coastal environments may need inspections every 1–2 years, and many insurers require annual visual checks.
Can homeowners troubleshoot PV systems themselves?
Homeowners can safely check MC4 connector engagement, review inverter fault codes, and clean panels. Any work involving rooftop access or high-voltage DC components must be performed by a qualified electrician, as DC lines remain live under sunlight.
What does an insulation resistance reading below 1 MΩ per kW mean?
A reading below 1 MΩ per kW indicates a serious defect such as a ground fault or wiring damage. The system requires professional repair before continued operation to prevent safety hazards and further damage.
Why do self-clearing inverter faults matter?
A fault that clears itself often signals early insulation failure or moisture ingress rather than a benign glitch. Log every occurrence with the date and weather conditions, and share the record with a qualified technician for proper diagnosis.
Recommended
Comments