Solar Installation Step by Step: Maximize Home Efficiency
- Jan 7
- 8 min read
Most American solar designs achieve peak efficiency only when tailored to the property. For homeowners in Central Europe, getting the most from solar power starts with a careful, step-by-step approach that considers roof quality, system integration, and regulatory requirements. With over 80 percent of solar projects performing below their potential due to overlooked site factors, this guide provides practical steps to ensure your solar installation delivers optimal energy savings and reliable performance.
Table of Contents
Quick Summary
Key Point | Explanation |
1. Conduct a Thorough Site Assessment | Evaluate your roof for structural integrity, angle, and shading to ensure optimal solar panel performance. |
2. Select Quality Solar Components | Choose high-efficiency solar panels, compatible inverters, and reliable mounting systems based on specific energy needs. |
3. Obtain Necessary Permits | Ensure compliance with local regulations by securing all required permits and documentation before installation begins. |
4. Focus on Proper Installation | Ensure secure mounting of panels and connections to maximize energy capture and system longevity. |
5. Verify System Performance Post-Installation | Conduct thorough inspections and testing to confirm that the solar system operates efficiently and safely. |
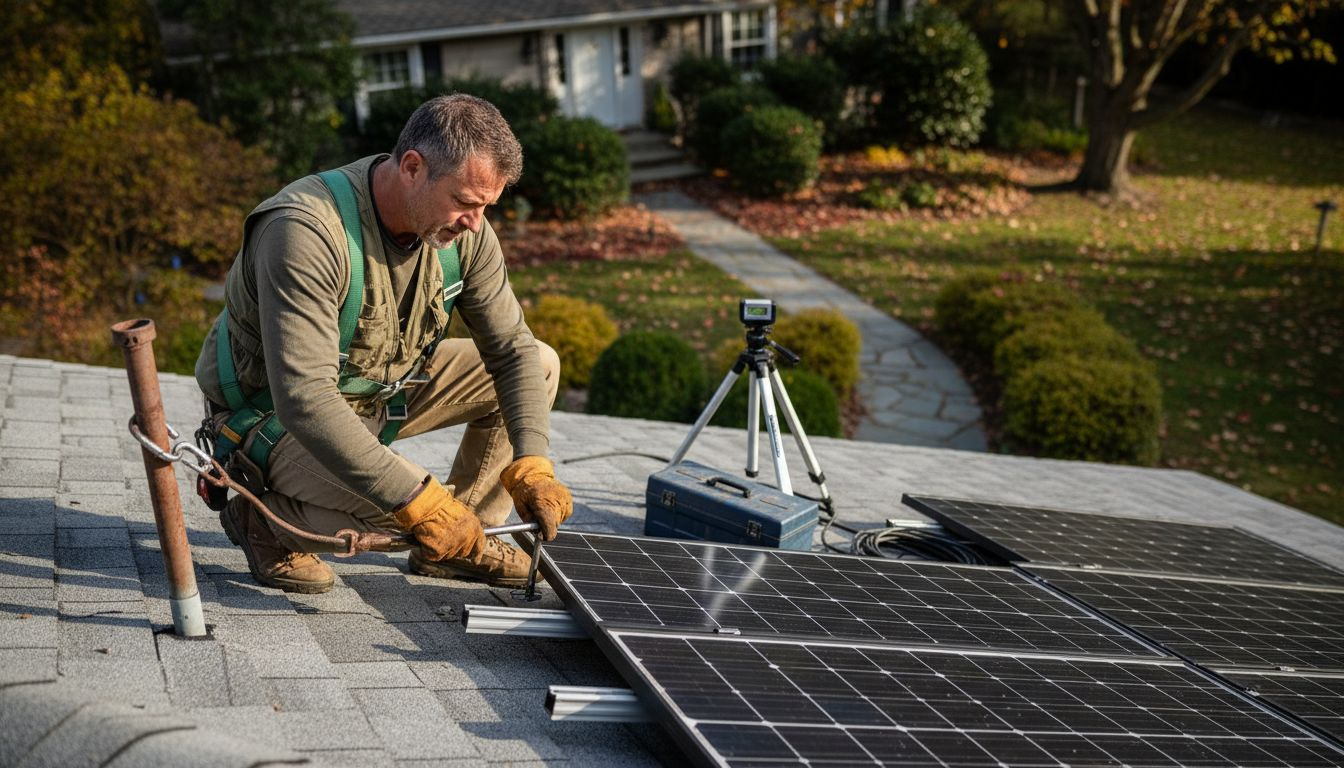
Step 1: Assess Roof and Site Suitability
Before installing solar panels, thoroughly evaluating your roof and property is critical to maximizing system performance and long term energy generation. A comprehensive site assessment will help determine whether your location can support an efficient solar installation and identify potential challenges or opportunities.
Start by examining your roof’s structural integrity and physical characteristics. You want a surface that can safely support solar panel weight and provide optimal solar exposure. Solar site assessment methodologies recommend checking several key factors including roof angle, material composition, and load bearing capacity. Ideal roofs typically have southern exposure in the Northern Hemisphere, minimal shading from trees or surrounding buildings, and a pitch between 30 to 45 degrees for maximum sunlight capture. Concrete, metal, and asphalt shingle roofs generally work best for solar panel mounting.
Professional solar installers can perform detailed site evaluations using specialized equipment to measure solar access, shadowing potential, and precise energy generation estimates. Rooftop solar assessment reports highlight the importance of understanding local regulatory requirements and structural considerations before beginning your installation. By conducting a thorough preliminary assessment, you can avoid costly mistakes and ensure your solar system delivers optimal performance.
Here’s a summary of key factors to assess for roof and site suitability:
Factor | Why It Matters | Typical Ideal Value |
Roof Angle | Maximizes sunlight exposure | 30–45 degrees |
Orientation | Enhances energy generation | South-facing (Northern Hemisphere) |
Shading | Reduces power loss | Minimal shade |
Roof Material | Ensures safe installation | Asphalt, metal, or concrete |
Structural Integrity | Supports system safely | Strong load capacity |
Expert Tip: Consider getting a professional solar site assessment that includes structural engineering review to validate your roof’s compatibility and prevent potential installation complications.
Step 2: Design System and Choose Components
Designing your solar system requires careful planning to match your home’s energy needs and physical constraints. This crucial step transforms your solar aspirations into a tailored energy solution that maximizes performance and efficiency.

Begin by calculating your household’s average energy consumption and determining the appropriate system size. European solar planning guidelines emphasize aligning panel placement with your specific architectural characteristics. Consider factors like roof orientation, available space, and peak electricity usage. Typically, residential systems range from 3 to 10 kilowatts, depending on your energy profile. Select high-quality components that work together seamlessly solar panels with optimal efficiency ratings, inverters compatible with your electrical infrastructure, and mounting systems designed for your specific roof type.
Component selection strategies recommend prioritizing system integration and long-term reliability. Look for panels with strong performance warranties, inverters with smart monitoring capabilities, and mounting equipment that ensures secure installation. Pay attention to technical specifications like power output, temperature coefficient, and degradation rates. Modern solar technologies offer modular designs that allow future expansions, giving you flexibility as your energy needs evolve.
Compare the primary solar system components and their roles:
Component | Main Function | Key Selection Criteria |
Solar Panels | Generate electricity from sunlight | High efficiency rating, long warranty |
Inverter | Converts DC to AC power | Smart monitoring, compatibility |
Mounting System | Secures panels to roof | Weather resistance, fit for roof type |
EMS | Manages and monitors energy use | Customizable controls, real-time tracking |

Expert Tip: Create a detailed spreadsheet comparing different component specifications to objectively evaluate performance, warranty, and cost-effectiveness before making your final selections.
Step 3: Secure Permits and Schedule Installation
Navigating the permitting process is a critical step in your solar installation journey that requires careful attention to local regulations and administrative requirements. This stage transforms your solar project from a design concept into an actionable plan with official approval.
Regulatory frameworks across Europe emphasize the importance of understanding and complying with local and national solar installation guidelines. Begin by contacting your local municipal building department to determine specific permit requirements. Typically, you will need to submit detailed system design plans, electrical diagrams, structural assessments, and property site plans. Some jurisdictions may require additional documentation such as equipment specifications, grid connection agreements, and proof of contractor certifications. Rooftop solar installation roadmaps recommend early engagement with local authorities to streamline the approval process and avoid potential delays.
Once permits are secured, coordinate closely with your chosen solar installation team to schedule the actual installation. Discuss potential dates that minimize disruption to your household, considering factors like weather conditions and your personal availability. Most residential solar installations take between one to three days, depending on system complexity and roof characteristics. Your installation team will handle mounting equipment, electrical connections, and system testing to ensure everything meets safety and performance standards.
Expert Tip: Create a dedicated folder with all permit documents and correspondence to maintain organized communication with local authorities and your installation team.
Step 4: Install Mounting and Solar Panels
Installing your solar panel mounting system and panels represents the most transformative moment in your solar journey transforming your roof into a powerful energy generation platform. This step requires precision teamwork and careful attention to technical details.
Mounting system installation guidelines emphasize the critical importance of creating a stable and secure foundation for your solar panels. Your installation team will first locate and mark the exact mounting points using specialized equipment to ensure they align perfectly with your roof’s structural supports. They will drill pilot holes and carefully secure mounting brackets using corrosion-resistant stainless steel bolts designed to withstand various weather conditions. Depending on your roof type concrete tile metal standing seam or asphalt shingle the mounting hardware will be customized to provide optimal load distribution and water resistance.
European solar installation standards require meticulous panel placement to maximize energy generation. Once mounting brackets are securely installed technicians will carefully position each solar panel ensuring precise alignment and minimal gaps between modules. They will connect panels using specialized electrical connectors and grounding equipment to create a unified system that meets local electrical and safety regulations. Your installation professionals will also perform comprehensive testing to verify electrical connections system performance and structural integrity.
Expert Tip: Request a detailed walk-through of your installation documenting each mounting point and connection to understand your system’s technical configuration.
Step 5: Connect Inverter and Integrate EMS
Connecting your solar inverter and integrating an Energy Management System (EMS) marks the technological heart of your solar installation, transforming raw solar energy into a smart home power solution. This step bridges your solar panels and home electrical network, enabling intelligent energy distribution and monitoring.
European energy efficiency guidelines emphasize the importance of precise inverter connections to optimize energy flows. Your installation team will carefully connect the solar panel array to the inverter, ensuring proper polarity and secure electrical connections. The inverter converts direct current (DC) generated by solar panels into alternating current (AC) usable by your home appliances. They will also configure communication protocols that allow real-time monitoring of energy production and consumption.
Solar system integration standards recommend comprehensive EMS setup to maximize energy efficiency. Technicians will configure your Energy Management System to enable dynamic energy routing intelligent battery charging and potential grid feed-in. This involves programming your system to prioritize self-consumption store excess energy in batteries during peak production and intelligently manage power distribution based on your household’s specific energy usage patterns.
Expert Tip: Request a detailed walkthrough of your EMS mobile app settings to understand how to customize energy management preferences and track your system’s performance in real time.
Step 6: Verify System Performance and Safety
Verifying your solar installation’s performance and safety is the critical final stage that ensures your investment delivers reliable, efficient energy generation. This comprehensive evaluation confirms that every component functions precisely as designed and meets rigorous European technical standards.
Solar system verification processes involve meticulous technical inspections that go beyond basic functionality checks. Your installation team will conduct electrical safety tests measuring insulation resistance ground fault protection and circuit integrity. They will use specialized diagnostic equipment to assess panel output inverter efficiency and overall system performance metrics. These tests validate that your solar system matches the predicted energy generation specifications and operates within optimal parameters.
European Solar Charter guidelines recommend comprehensive performance documentation and ongoing monitoring. Your technicians will generate detailed performance reports documenting initial system readings grid connection compliance and baseline energy production levels. They will help you configure mobile app monitoring tools that allow real time tracking of energy generation consumption and potential system anomalies. This documentation serves as a critical reference point for future maintenance and performance optimization.
Expert Tip: Schedule your first professional system performance review within six months of installation to catch and address any potential early performance variations or technical issues.
Take Control of Your Solar Installation with Belinus Solutions
Maximizing home energy efficiency starts with a reliable solar installation tailored to your roof and lifestyle. The article highlights key challenges such as assessing roof suitability, selecting components, and integrating smart management systems. These steps can feel complex and daunting. Belinus understands these pain points and offers a seamless pathway through our comprehensive residential solutions. Our intelligent Energy Management System ensures that your solar panels, inverters, and battery storage work together flawlessly to optimize your energy use.

Unlock your solar potential today with Belinus. Whether you need advanced Solis inverters, innovative energy storage like the Energy Wall G1, or seamless EMS integration, our expert solutions are designed to simplify installation and maximize your savings. Don’t let technical hurdles slow your progress. Visit Belinus now, explore our residential solar solutions and start your journey toward smarter, cleaner energy management with confidence.
Frequently Asked Questions
What should I assess on my roof before installing solar panels?
To maximize home efficiency, assess your roof’s structural integrity, angle, orientation, shading, and material. Ensure your roof can safely support solar panels, ideally has a pitch between 30–45 degrees, and is south-facing to capture maximal sunlight.
How do I calculate the right size for my solar system?
Calculate your household’s average energy consumption to determine the appropriate system size, typically ranging from 3 to 10 kilowatts. Review your energy bills over the past year to find your average monthly usage and use this to guide your solar system design.
What permits do I need before installing solar panels?
You need to secure local building permits, submit detailed system design plans, and may require structural assessments and electrical diagrams. Start by contacting your local building department to identify specific documentation needed for your project.
How long does the installation process take?
Most residential solar installations take between one to three days, depending on system complexity and roof characteristics. Schedule your installation dates considering weather conditions and your availability to ensure a smooth process.
How can I verify the performance of my solar system after installation?
Verify your solar installation’s performance by conducting electrical safety tests and checking system metrics within a few days of installation. Use monitoring tools to track energy generation and consumption in real-time, ensuring everything is operating as planned.
What is the role of the Energy Management System (EMS) in my solar installation?
The Energy Management System (EMS) manages energy distribution and optimizes your solar system’s efficiency by routing energy intelligently based on your usage patterns. Program your EMS to prioritize self-consumption and store excess energy for future use.
Recommended
Comments