Solar project planning checklist: 6 steps to savings
- 11 hours ago
- 9 min read
Solar projects that skip structured planning routinely run over budget, face permit delays, or leave significant savings on the table. Across Europe, structured planning steps are what separate smooth installations from costly headaches. This guide walks you through a proven, Europe-focused checklist covering every stage from roof assessment to commissioning. You’ll find real benchmarks, practical comparisons, and expert tips designed specifically for homeowners and property developers ready to act.
Table of Contents
Key Takeaways
Point | Details |
Start with assessment | Analyze your roof’s suitability and energy needs first to ensure feasibility and savings. |
Choose quality installers | Certified, reputable contractors and clear quotes are key to long-term results. |
Maximize incentives | Research financing and local incentives early to reduce upfront costs and boost returns. |
Mind regulations | Handle permits and grid notifications carefully to avoid costly delays. |
Developers need due diligence | Commercial-scale projects require additional technical and risk checks before investing. |
Step 1: Assess roof suitability and energy needs
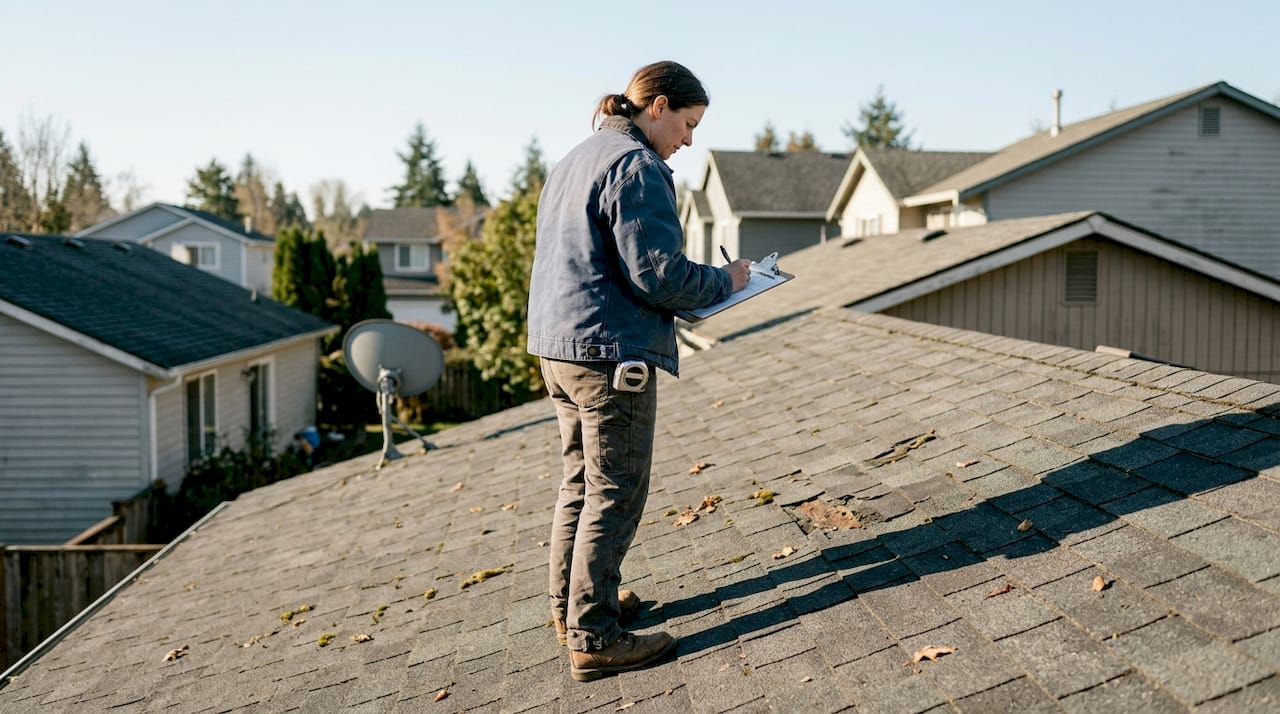
Understanding your property’s solar potential is the critical starting point before making any investments.
Not every roof is solar-ready. Before you spend a euro, check these fundamentals:
Orientation and tilt: South-facing roofs at 30 to 35 degrees deliver the best yields in Europe. East or west orientations still work but reduce output by roughly 15 to 20 percent.
Shading: Trees, chimneys, and neighboring buildings can cut production significantly. Even partial shading on one panel affects the whole string.
Roof condition: A solar system lasts 25 to 30 years. If your roof needs replacing in five years, do it first.
Structural strength: Panels add 15 to 20 kg per square meter. Older roofs may need a structural check.
Historic status: Listed buildings or conservation areas may require additional approvals before installation.
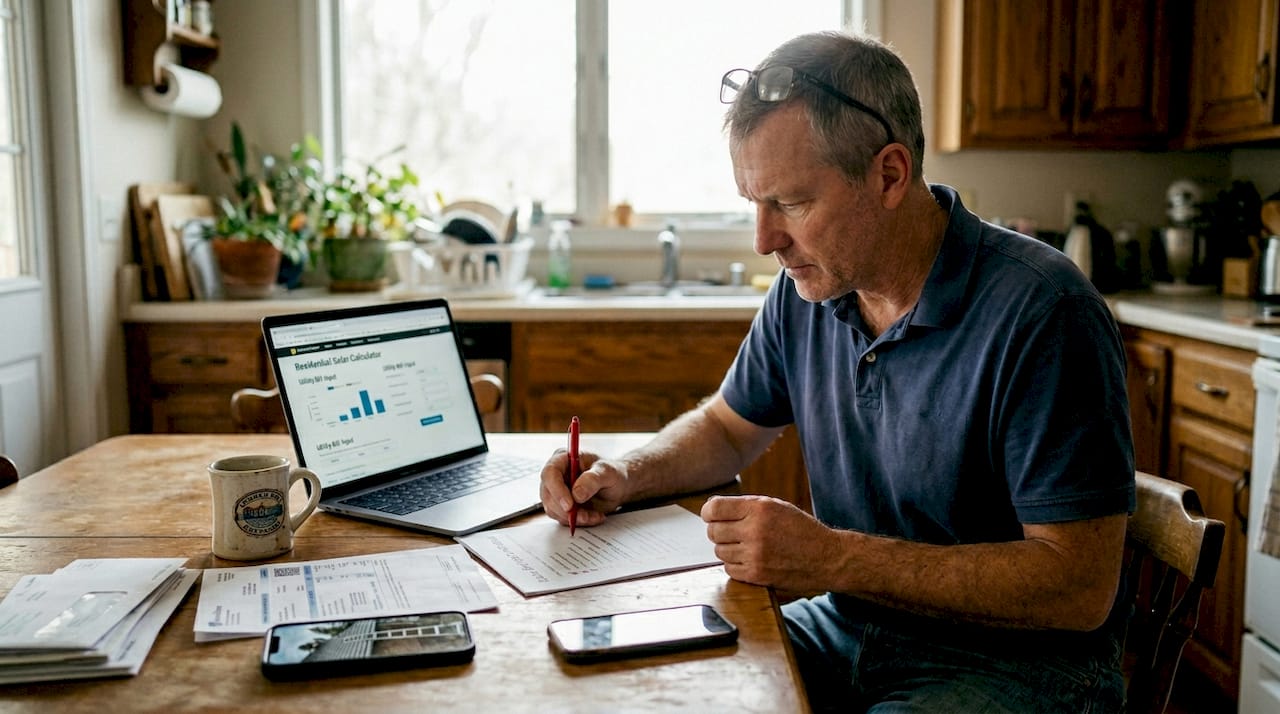
For energy sizing, a useful rule of thumb is 1 kWp of solar capacity per 1,000 kWh of annual consumption. In Germany, roof area and orientation benchmarks suggest 4 kWp (24 m²) for a two-person household and 6 kWp (36 m²) for a family of four. In the UK, a typical home needs around 3.5 kWp across 15 to 20 m². Pull your last 12 months of electricity bills to get an accurate consumption figure.
Pro Tip: Use PVGIS or PVSyst to simulate your roof’s annual solar yield for free before committing to anything. These tools factor in your location, tilt, and orientation.
Red-flag issues to watch for: active roof leaks, excessive shading from nearby structures, complex multi-plane roof designs, and any roof age over 20 years. If your property has a solar checklist for Benelux context, regional specifics apply too.
Step 2: Select and size your solar system
Once you know your property’s potential, it’s time to select and size a system that fits your unique needs.
System sizing comes down to three inputs: annual consumption (kWh), available roof area (m²), and your budget. Here’s a practical reference table:
Household size | System size | Roof area needed | Est. annual yield (Central EU) |
2 people | 4 kWp | 24 m² | 3,600 to 4,400 kWh |
4 people | 6 kWp | 36 m² | 5,400 to 6,600 kWh |
Large home/EV owner | 10 kWp | 60 m² | 9,000 to 11,000 kWh |
System sizing should always be grounded in your actual annual consumption, not a generic estimate. Key selection steps:
Calculate your annual kWh use from bills.
Divide by 900 to 1,000 to get your target kWp.
Confirm available roof area matches the panel count needed.
Choose your inverter type: string inverters work well for simple roofs; microinverters suit complex or shaded layouts.
Decide on battery storage now, even if you install it later. Pre-wiring saves money.
Optimal orientation and sizing are the two biggest factors in long-term system performance. If you’re adding an EV charger, size up by at least 2 kWp to cover charging demand. You can explore solar components explained for a deeper breakdown of modules, inverters, and mounting options, and review battery backup installation guidance when you’re ready to add storage.
Pro Tip: Slightly oversize your system within grid and subsidy limits. Future appliances, an EV, or a heat pump will increase your consumption. Building in headroom now costs far less than upgrading later.
Step 3: Budget, financing, and incentives
With a system in mind, the next step is to align your budget, factoring in all available incentives for maximum savings.
Project costs vary significantly by country. In Germany, a 5 to 10 kWp system typically runs €15,000 to €38,000 installed. In the UK, residential systems cost roughly £5,000 to £9,000. Across the EU average, expect €1,200 to €1,800 per kWp installed.
Financing options to consider:
Cash purchase: Best long-term return. Payback in 6 to 10 years, then free electricity for 15 to 20 more.
Green loan: Low-interest financing available through many European banks and government programs. Keeps cash free while still owning the system.
Lease or PPA (Power Purchase Agreement): No upfront cost, but you pay for the power generated. Lower savings overall, but accessible for those with limited capital.
Country | Typical system cost | Key incentive | Est. payback |
Germany | €15,000 to €38,000 | VAT exemption, KfW loans | 8 to 12 years |
UK | £5,000 to £9,000 | SEG export payments | 6 to 9 years |
EU average | €8,000 to €18,000 | National grants, net metering | 7 to 11 years |
Export payments and feed-in tariffs like the UK’s Smart Export Guarantee (SEG) add ongoing income for surplus power sent to the grid. Check solar incentives in Central Europe for country-specific programs, and review available solar panel grants before finalizing your budget.
Pro Tip: Apply for subsidies early. Many national and regional programs are capped or run on a first-come, first-served basis. Waiting until after installation often means missing out entirely.
Step 4: Get quotes and pick a reputable installer
With financing ready, installer selection is a crucial determinant of quality and long-term project performance.
Get at least three quotes. Here’s how to compare them properly:
Confirm the installer holds valid certifications (MCS in the UK, SEAI in Ireland, or equivalent national accreditation).
Check that the quote includes all work: design, permits, installation, grid registration, and commissioning.
Ask for references from projects completed in the last 12 months.
Verify panel and inverter warranties (25 years for panels, 10 to 12 years for inverters is standard).
Confirm who handles after-sales support if something fails in year three.
Must-have credentials to verify:
National certification body membership
Public liability and professional indemnity insurance
Manufacturer-authorized installer status (for warranty validity)
Documented experience with your system type and size
“The cheapest quote is rarely the best value. Certified installers with strong after-sales support protect your investment far better than a low upfront price that leaves you stranded when issues arise.”
Red flags to avoid: no written scope of work, vague warranty terms, pressure to sign quickly, no help with permit paperwork, and zero verifiable references. Review the full installer selection process and panel selection process before signing anything.
Step 5: Legal, permits, and grid registration
After decisions on technology and contractor, getting the paperwork right is vital for legal and financial peace of mind.
Permit requirements vary by country and system size. Key points to know:
UK: Most domestic installs under 4 kWp on a standard roof fall under permitted development and need no planning permission. Systems over 3.68 kW require G98 or G99 notification to your grid operator.
Germany: Systems under 30 kWp generally require only grid registration with the Marktstammdatenregister (MaStR). Larger systems need additional approvals.
Historic buildings: Approvals are typically granted if modules integrate with minimal visual impact. Expect longer review timelines.
Documents you’ll typically need:
Roof plan and structural assessment
Single-line electrical diagram
Grid connection application
Proof of installer certification
Building permit (where required)
Pro Tip: Start a dedicated permit folder on day one. A single missing document can delay commissioning by weeks. Your installer should handle most of this, but tracking it yourself keeps the project on schedule. See the full installation step-by-step guide for a detailed walkthrough.
Step 6: Installation, commissioning, and aftercare
With approvals in place, it’s time to get hands-on and ensure the results will stand the test of time.
A standard residential installation follows this sequence:
Scaffold and roof preparation
Mounting rail installation and waterproofing checks
Panel placement and mechanical fixing
DC wiring from panels to inverter
Inverter and battery placement with AC connection
Grid connection and meter setup
System commissioning and performance test
Weight load, wiring quality, and inverter placement should all be verified during and after installation. At handover, make sure you receive:
All warranty documents (panels, inverter, battery, workmanship)
A system walkthrough covering your monitoring app
Grid registration confirmation
Commissioning test results
Ongoing maintenance is minimal but important:
Annual: Visual inspection of panels and mounting rails
Every 2 to 3 years: Professional electrical check
As needed: Panel cleaning in dusty or high-pollen areas
Ongoing: Monitor output via your app and flag unexpected drops
For practical guidance on getting the most from your system long-term, the installation tips for homeowners resource covers common post-install issues and optimization strategies.
Developer-focused: Technical due diligence essentials
For larger buildings or investments, deeper risk checks and technical reviews are mission-critical.
Property developers and investors need a more rigorous process. Technical due diligence (DD) for commercial solar typically runs in three phases:
Phase 1: Data room review. Check permits, grid connection agreements, lease documents, and performance data.
Phase 2: Site visit and thermography. Inspect panels for hotspots, soiling, and physical damage. Review inverter logs.
Phase 3: Testing and red flag assessment. Confirm performance ratio (PR) and flag any deal-breakers.
Deal-breaker red flags to watch for:
PR below 75%, which signals underperformance or equipment issues
Incomplete or missing lease and grid connection documents
Unresolved permit violations
No performance warranty from the EPC contractor
Biodiversity or HSSE (health, safety, security, environment) non-compliance on larger sites
Pro Tip: Insist on operational documentation and performance warranties before any transaction closes. Retrofitting missing paperwork after acquisition is expensive and sometimes impossible. For large-scale community or commercial projects, the community solar step-by-step guide and solar technical evaluation resources provide additional frameworks.
Quick summary: Solar project planning steps compared
To wrap up, here’s a final side-by-side summary so you can focus on the steps that matter most for your project type.
Planning step | Homeowner focus | Developer focus |
Roof and site assessment | Orientation, shading, condition | Structural survey, thermography |
System sizing | Match kWp to household kWh | Optimize for yield and grid capacity |
Budget and incentives | Grants, SEG, green loans | IRR modeling, PPA structures |
Installer selection | Certification, warranty, reviews | EPC track record, performance bonds |
Permits and grid registration | Permitted development, MaStR | Full planning, G99, lease review |
Commissioning and aftercare | App monitoring, annual checks | PR tracking, HSSE compliance |
Where the two paths overlap and where they diverge:
Overlap: Both need certified installers, valid permits, and grid registration.
Homeowners prioritize simplicity, subsidy access, and long-term bill savings.
Developers add layers of financial modeling, technical DD, and risk management that go well beyond a standard residential install.
Take the next step with your solar project
Whether you’re ready to launch or need expert input, here’s how to turn your checklist into reality.
Planning a solar project is far easier when you have the right tools and guidance behind you. At Belinus, we support homeowners and developers at every stage, from initial roof assessment through system design, financing guidance, and long-term energy management. Our integrated approach connects solar PV, battery storage, and EV charging through a smart Energy Management System that keeps optimizing your returns year after year.

Our automated quotation software models 25-year financial outcomes so you can see exactly what your investment returns before you commit. Whether you’re sizing a 6 kWp home system or planning a commercial installation, Belinus project support gives you the resources, expert consultation, and technology to move from checklist to commissioned system with confidence.
Frequently asked questions
How much roof space is needed for a typical home solar system?
A typical European home needs 4 to 6 kWp, requiring 24 to 36 m² of roof area depending on household size and annual power consumption.
What should I check before choosing a solar installer?
Verify valid national certifications, warranty terms for both panels and workmanship, and confirm the installer handles all permit paperwork. Certified installers with strong support protect your investment far better than the lowest bidder.
Do I need permission to install solar panels on a historic building?
You may need special approval, but historic building permits are usually granted when modules integrate with minimal visual impact. Expect a longer review process than a standard install.
Are solar incentives or feed-in tariffs available Europe-wide?
Most European countries offer some form of incentive. Feed-in tariffs and export payments like the UK’s Smart Export Guarantee vary by country, so check your national program before finalizing your budget.
Recommended
Comments